Why Squaring Metal Matters for Every Cut You Make
Every successful sawing operation depends on one fundamental skill that separates clean, professional work from frustrating waste: keeping your material square to the band saw. When your workpiece sits at even a slight angle during cutting, the result is a crooked cut that may be unusable for your project. Squaring metal properly before each cut saves time, reduces material waste, and ensures that your finished pieces fit together as intended. Whether you are working on a single custom fabrication or running production batches, mastering the basics of squaring metal will improve your results immediately and make every subsequent step in your workflow easier to complete.
Essential Tools for Squaring Metal Accurately
- Machinist square or combination square for checking 90 degree angles
- Precision level for verifying equipment alignment
- Steel measuring tape or calipers for confirming cut dimensions
- Marking tools such as soapstone or metal scribes
- Adjustable clamps rated for your material weight and size
- Straightedge or steel rule for visual reference checks
- Deburring tool for cleaning cut edges before measurement
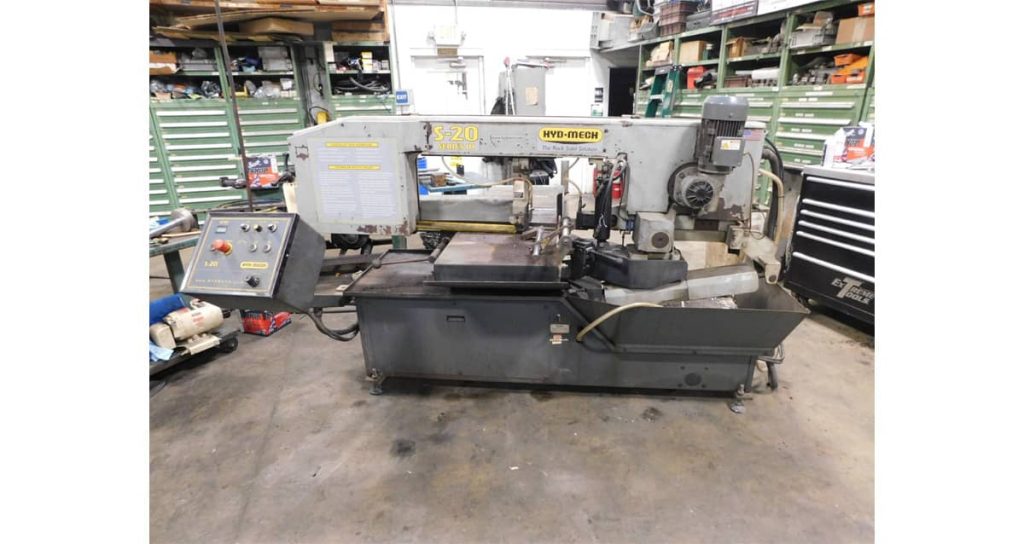
Setting Up Your Saw for Square Cuts
Before you even think about clamping your workpiece, the saw itself needs to be properly aligned. Your band saw, material rise, and conveyor system must all be level to the floor to create a reliable reference plane for squaring metal. Use a precision level on each component and make adjustments until everything reads true. Many operators skip this step and wonder why their cuts come out crooked despite careful material positioning. Taking five minutes to verify your equipment alignment can prevent hours of rework and wasted material down the line.
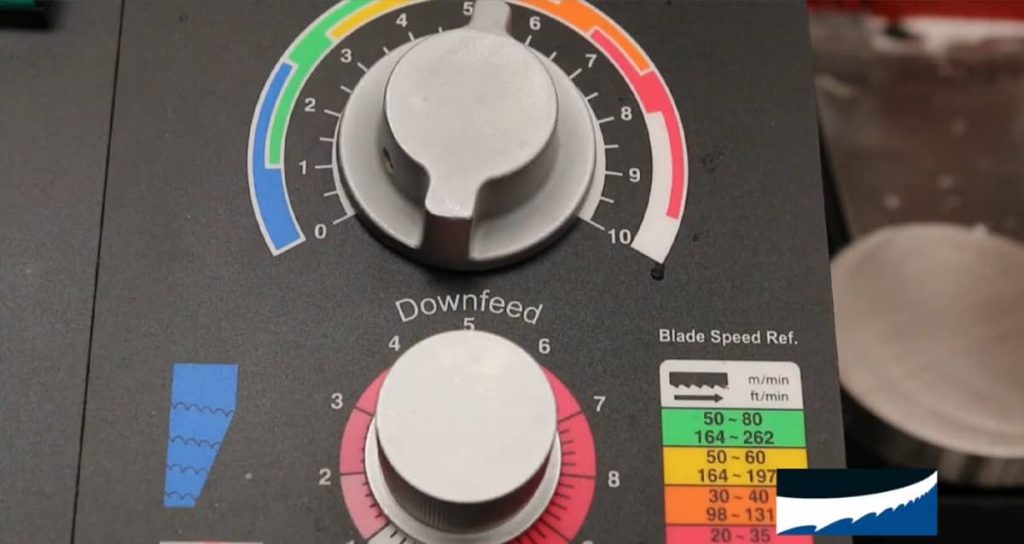
How to Position and Clamp Your Material
Once your equipment is level, position your workpiece so it contacts the saw fence or guide at a perfect right angle to the blade. The key to successful squaring metal is clamping the material as close as possible to the cutting point while maintaining that 90 degree relationship. When clamps sit too far from the blade, longer pieces can shift or flex during the cut, introducing angular errors. Apply firm, even pressure and double check your angle with a square before starting the saw. This simple verification takes only seconds but catches problems before they become expensive mistakes.
Common Squaring Problems and Their Causes
| Problem | Likely Cause | Quick Fix |
| Cuts angle to one side consistently | Saw blade drift or worn guides | Replace guides and check blade tension |
| Irregular wavy cuts | Missing teeth on blade | Inspect blade and replace if damaged |
| Cuts start square then drift | Material shifting in clamps | Increase clamping pressure near blade |
| End face not perpendicular to length | Material not seated against fence | Reposition workpiece and verify with square |
| Varying cut angles between pieces | Inconsistent clamping position | Establish repeatable setup procedure |
| Rough cut surface affecting measurement | Wrong tooth pitch for material | Select appropriate blade for material thickness |
The Two Cut Verification Method
Here is a practical technique that experienced operators use to confirm their setup is producing truly square cuts. Make your first cut relatively short, just enough to create a fresh end on your workpiece. Remove the piece and check that the cut face is perpendicular to the material length using your machinist square. If it checks out, make a second cut and measure this piece against the first. When both cuts match and both faces are square, you know your setup is dialed in and you can proceed with confidence. This two cut verification catches alignment issues before you commit to cutting multiple pieces.
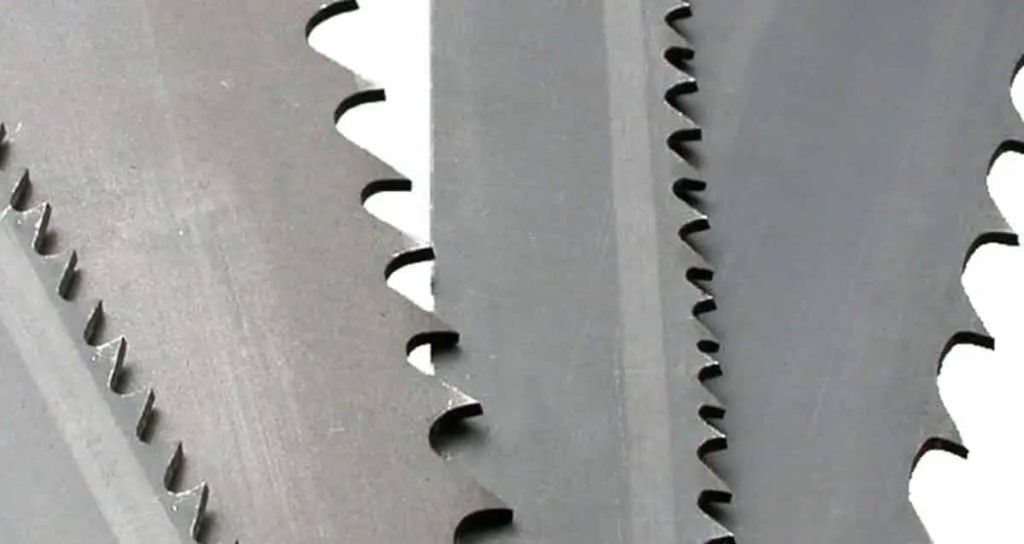
Signs Your Blade May Be Causing Squaring Issues
- Teeth visibly missing or damaged when you inspect the blade edge
- The blade has excessive wear on one side compared to the other
- You notice the blade wandering during cuts despite proper tension
- Cut surfaces show unusual striations or scoring marks
- The blade requires significantly more pressure to cut than when new
- Your tooth pitch does not match the material thickness you are cutting
Checking Squareness After the Cut
After completing a cut, always verify the result before moving on to the next piece. Place your machinist square against the cut face with one arm running along the length of the workpiece. Look for any light gaps between the square and the metal surface, which indicate the cut is not perpendicular. Rotate the square 90 degrees and check again to catch errors in both planes. For production work where you are squaring metal repeatedly, check every few pieces rather than just the first one. Blade wear and material variations can introduce drift over time, so periodic verification keeps quality consistent throughout the job.
ALSO WORTH READING
Exploring the Hitachi CB6Y Band Saw
If you own or are considering the Hitachi CB6Y portable band saw, we have a dedicated resource that covers everything you need to know about this reliable tool. Our complete guide walks you through the manual basics, correct blade sizing, replacement parts, and solutions for the most common issues users run into. It is a helpful starting point whether you are setting up your saw for the first time or troubleshooting a problem. Check out our full Hitachi CB6Y guide for all the details.
Steps to Correct an Out of Square Workpiece
- Identify which direction the cut face angles away from perpendicular
- Adjust your material position to compensate, shifting the high side closer to the blade
- Verify the adjustment with your square before clamping
- Make a light finishing cut to remove only enough material to create a square face
- Measure the corrected piece against your specifications
- Document any equipment adjustments needed to prevent the same error on future pieces
When to Call in Expert Support
Sometimes squaring metal problems persist despite your best efforts at alignment and blade inspection. If you have verified that your saw is level, your material is properly clamped, and your blade is in good condition, yet crooked cuts continue, the issue may involve factors beyond basic setup. Internal saw components like guides, bearings, or the blade tensioning system could need professional attention. At this point, reaching out to knowledgeable technical support makes sense. Companies like Metal Sawing Technologies have staff who can troubleshoot specific problems and recommend solutions based on your equipment and materials.
Best Practices for Consistent Square Cuts
- Level your saw, rise, and conveyor at the start of each shift or when moving equipment
- Always clamp material at a right angle and as close to the blade as your setup allows
- Perform the two cut verification method when starting a new job or material type
- Inspect blades regularly and replace them at the first sign of missing teeth or excessive wear
- Match your tooth pitch to the material thickness for cleaner cuts and longer blade life
- Keep a log of equipment adjustments so you can identify patterns in alignment drift
- Train all operators on the same squaring metal procedures for consistent results across your team
Putting It All Together for Better Results
Squaring metal is not complicated, but it does require attention to detail and a systematic approach. By leveling your equipment, positioning your material correctly, and verifying your cuts with reliable measuring tools, you eliminate the guesswork that leads to wasted time and scrapped pieces. The techniques covered here work whether you are cutting a single piece for a repair job or running hundreds of identical parts for production. Make squaring metal a habit rather than an afterthought, and you will see immediate improvements in cut quality, material efficiency, and overall workflow. When questions arise or problems persist, remember that expert help is just a phone call away to get you back on track.