Why Your Bandsaw Fence Makes or Breaks Resawing Results
Resawing on a bandsaw demands more from your fence than any other cutting operation. When you are slicing a thick board into thinner stock, even a small misalignment compounds over the length of the cut, leaving you with wedge-shaped pieces that waste material and create extra work at the planer. Most stock bandsaw fences shipped with machines under $800 are afterthoughts at best, and some models arrive with fences that shift an eighth of an inch the moment you lock them down. The good news is that simple bandsaw fence designs can solve these problems without requiring expensive aftermarket systems. Whether you build a basic clamped fence from shop scraps or upgrade to a rail-mounted option, understanding what makes a fence work well for resawing will save you time, lumber, and frustration.
Common Problems with Factory Bandsaw Fences
Factory fences often disappoint woodworkers who expect reliable resawing performance right out of the box. These are the most frequent issues reported by bandsaw owners.
- The rear of the fence drifts when the locking mechanism engages, sometimes by as much as an eighth of an inch on budget models
- Ribbed or textured table castings prevent standard clamps and featherboards from gripping securely
- Fence rails protrude beyond the table and snag clothing or materials as you walk past the saw
- Locking handles require excessive force yet still allow micro-movement during cuts
- Height limitations prevent the fence from supporting tall stock during resawing operations
- No provisions exist for adjusting the fence angle to compensate for blade drift
Understanding Blade Drift and Why It Affects Fence Setup
Blade drift is the tendency of a bandsaw blade to pull slightly left or right during a cut rather than tracking perfectly parallel to the miter slot. Many woodworkers assume drift is an inherent characteristic of their machine, but experienced users point out that drift is usually a symptom of a dull blade or unevenly worn teeth rather than a permanent flaw. When one side of the blade’s teeth becomes duller than the other, the sharper side cuts faster and pulls the workpiece off course. Before spending time on bandsaw fence designs, check your blade condition. A fresh blade often eliminates drift entirely. For those who do experience consistent drift, marking a drift line on the table with a permanent marker provides a reference for setting any fence parallel to the actual cutting path rather than to the miter slot.
The Clamped Wooden Fence Approach
A clamped wooden fence costs almost nothing to build and works surprisingly well once you understand its limitations. The basic version uses three pieces of scrap lumber and an F-clamp, but this design has a weakness that many first-time builders discover the hard way. Without a reference surface to index against, you must eyeball the alignment every time you reposition the fence. The solution is adding a fourth piece at 90 degrees that registers against the front edge of the bandsaw table. This simple addition squares the fence automatically each time you clamp it in place. The fence becomes only as accurate as the reference surface it indexes to, so make sure your table’s front edge is true. Once built, this style of fence can be set at any distance from the blade and adjusted to match your marked drift line if needed. The tradeoff is that you lose repeatability when you move the fence and must realign it for each new setting.
Comparing Three Simple Bandsaw Fence Designs
| Fence Type | Cost | Repeatability | Setup Speed | Best For |
| Clamped Wooden Fence | Under $10 in scraps | Low, requires realignment each move | Slow, 2 to 3 minutes per setup | Occasional resawing, testing drift angles |
| Magnetic Bar Fence | $15 to $30 | Low, must realign when repositioned | Fast on ferrous tables, under 1 minute | Cast iron tables, quick single cuts |
| Rail-Mounted Aftermarket Fence | $80 to $200 | High, locks to indexed positions | Very fast, seconds to adjust | Regular resawing, production work |
The Magnetic Bar Fence Discovery
One of the more clever simple bandsaw fence solutions came from repurposing a magnetic tool holder bar. When laid flat on a cast iron table and aligned parallel to the blade kerf, these bars grip so firmly that they cannot be slid by hand. The fence only releases when you press down on one end to break the magnetic seal. This approach works beautifully for quick setups and requires no clamps cluttering your workspace. The obvious limitation is that it only functions on ferrous tables, so aluminum benchtop bandsaws are out of luck. If the magnetic fence does not suit your needs, the bar simply returns to its original purpose holding tools on your shop wall. This no-risk aspect makes it worth trying for anyone with a cast iron table who wants an alternative to clamping systems.
Building a Reliable Shop-Made Fence
Constructing your own fence from scratch allows customization that factory options rarely provide. These guidelines help ensure success.
- Use straight, stable hardwood or Baltic birch plywood at least three quarters of an inch thick to resist bowing
- Make the fence tall enough to support your tallest resawing stock, typically 6 to 8 inches for most shops
- Include a 90 degree registration piece that hooks over the front table edge for automatic squaring
- Apply paste wax or UHMW tape to the fence face for smooth workpiece feeding
- Drill multiple holes along the fence body for optional hold-down clamp attachment points
- Consider adding a micro-adjust mechanism using a bolt and captured nut for fine-tuning position
When to Invest in a Rail-Mounted Fence System
Shop-made and improvised fences work well for occasional resawing, but anyone processing lumber regularly should consider upgrading to a rail-mounted aftermarket system. The defining advantage is repeatability. Once installed, a rail system lets you move the fence to any position and lock it down with confidence that it will stay parallel to the blade. You eliminate the realignment step that clamped fences require after every adjustment. A fence that drifts off-parallel to the cutting line feeds badly and wears one side of the bandsaw blade teeth unevenly until the blade is ruined. For woodworkers who resaw weekly or more often, the time saved and blade life extended will offset the cost of a proper fence system within a year or two of regular use.
ALSO WORTH READING
Understanding Tooth Count for Better Cuts
Choosing the right blade goes beyond just picking a quality brand. The number of teeth per inch on your bandsaw blade plays a major role in cut quality, speed, and the types of materials you can work with effectively. If you want to learn how TPI affects your results and how to match tooth count to your specific projects, take a look at our guide on Bandsaw Blade TPI Explained: How to Choose the Right Tooth Count.
The Freehand Resawing Alternative
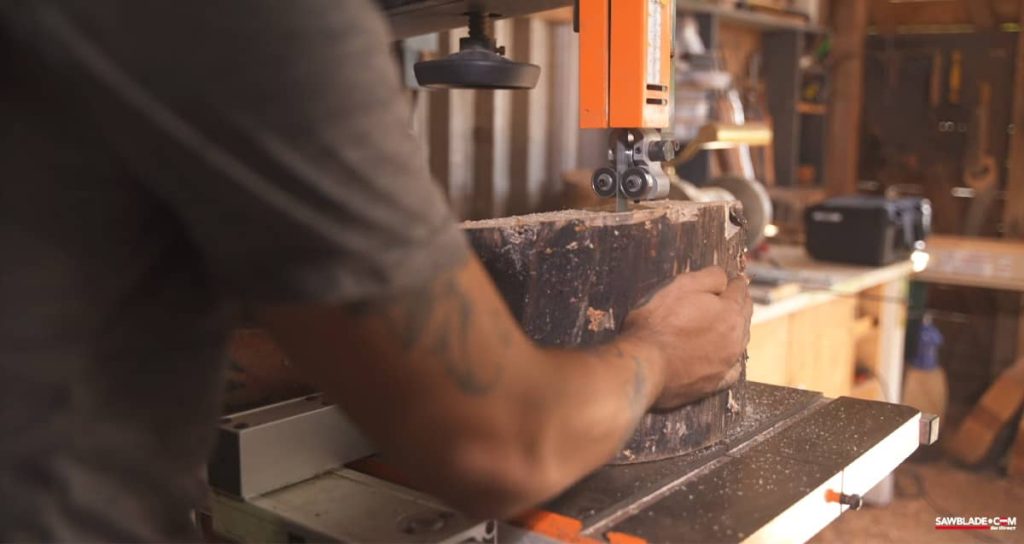
Some woodworkers skip the fence question entirely by cutting freehand. This technique involves drawing a pencil line on the workpiece and following it by eye through the entire cut. Proponents of this method argue that it gives them direct control over the cut path and eliminates any accumulated error from fence misalignment. The obvious downside is that you sacrifice the consistent thickness that a fence provides, and your results depend entirely on your hand-eye coordination and experience. Most freehand resawers plan to clean up the sawn faces on a planer or wide-belt sander afterward. This approach works best for rustic projects, bookmatched panels where slight thickness variation is acceptable, or situations where you need to work around defects in the wood and want to steer the cut in real time.
Tips for Accurate Fence Alignment
Proper alignment is the difference between clean resawing and frustrating results. Follow these practices every time you set up for resawing.
- Check blade tension and tracking before touching the fence since blade position affects all measurements
- Align your fence to a marked drift line rather than the miter slot if your blade exhibits consistent drift
- Use a reliable square to verify the fence is perpendicular to the table surface
- Make a test cut on scrap material of similar thickness before committing to your good lumber
- Measure the resulting stock thickness at both ends to confirm parallel alignment
- Lock your fence and apply moderate side pressure to verify it does not shift under load
Maintaining Your Bandsaw Fence for Long-Term Accuracy
Even the best fence design loses effectiveness without regular maintenance. Wooden fences can warp over seasonal humidity changes, so store them flat or hanging vertically when not in use. Check the fence face periodically with a straightedge and plane or sand any high spots that develop. For metal fences, clean the sliding surfaces with mineral spirits and apply a light coat of paste wax to ensure smooth movement along rails. Inspect locking mechanisms for wear and replace any hardware that no longer holds firmly. On magnetic fences, wipe the contact surfaces clean of sawdust and metal particles that can reduce grip strength. The bandsaw table itself needs attention too, as rust or debris buildup will affect how any fence seats and locks in position.
Choosing the Right Fence for Your Resawing Needs
Finding the best fence approach depends on how often you resaw, what your budget allows, and how much setup time you can tolerate. For occasional resawing projects, a well-made clamped wooden fence with a registration piece offers excellent results at minimal cost. If you have a cast iron table and prefer quick setups for one-off cuts, the magnetic bar fence is worth experimenting with before committing to anything more elaborate. Woodworkers who resaw regularly will find that the investment in a rail-mounted system pays off through faster setups, better repeatability, and reduced blade wear from consistent parallel alignment.
- Start with a shop-made clamped fence to learn how your saw behaves and identify any drift
- Try the magnetic bar method if you have a suitable cast iron table
- Upgrade to a rail-mounted system once you confirm that resawing is a regular part of your workflow
- Keep your shop-made fence as a backup or for angled cuts that your primary fence cannot accommodate
Getting the Most from Your Simple Bandsaw Fence
The path to better resawing accuracy runs through proper fence setup, but it does not stop there. A fence can only hold the workpiece against a cut that the blade is capable of making cleanly. Start with a sharp, appropriate tooth count blade for resawing, typically 2 to 3 teeth per inch for most hardwoods. Set your blade guides and thrust bearings correctly so the blade runs true under load. Feed at a steady pace that lets the blade cut efficiently without bogging down or overheating. With these fundamentals in place, even the simplest fence design will deliver consistent, accurate results. Whether you spend ten dollars on scraps and a clamp or invest in a complete rail system, understanding how your fence interacts with your blade and your technique is what ultimately produces flat, even resawn lumber ready for your next project.