Understanding the Real Impact of a Bandsaw Riser Block
When woodworkers hit the ceiling of their bandsaw’s cutting height, the conversation inevitably turns to riser blocks. These seemingly simple metal spacers promise to transform a modest 6-inch resaw capacity machine into one capable of slicing through 12-inch stock. But here is what most articles fail to mention: a bandsaw riser block alone is only half the upgrade. Without addressing the secondary systems affected by that added height, particularly your blade guides, you may end up with more cutting capacity but worse cutting performance. This article breaks down exactly how riser blocks work, what changes they trigger throughout your machine, and how to ensure your upgrade delivers the results you actually want.
Primary Benefits of Installing a Bandsaw Riser Block
- Increased resaw capacity allows you to slice thicker stock into veneers, bookmatched panels, and dimensional lumber from larger logs
- Better material utilization since you can process rough lumber that previously required a trip to a commercial mill
- Expanded project possibilities including thick cutting boards, deep bowl blanks, and architectural millwork
- Improved return on investment from your existing bandsaw rather than purchasing a larger machine
- Greater flexibility when working with salvaged or specialty wood that comes in unpredictable dimensions
How a Riser Block Actually Changes Your Bandsaw’s Geometry
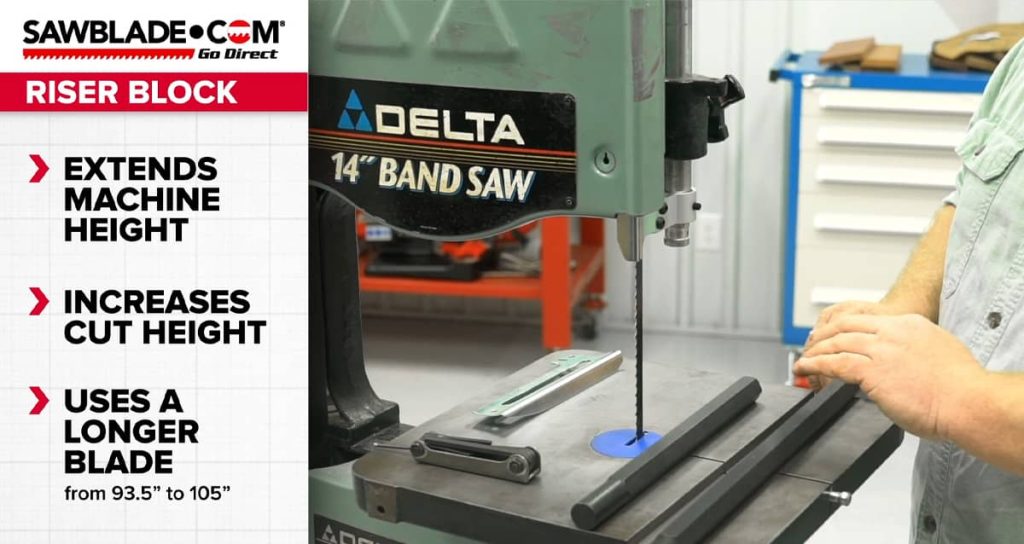
A bandsaw riser block fits between the upper wheel housing and the main frame of your saw, effectively raising the entire upper wheel assembly by 4 to 6 inches depending on the kit. This physical separation creates the additional throat depth needed for taller cuts. Most riser blocks are cast iron or steel and match the original frame dimensions precisely. However, this vertical extension does more than just add space. It increases the distance between your upper and lower blade guides, lengthens the unsupported blade span during tall cuts, and often requires a longer blade to maintain proper tension. The stock blade that came with your saw will suddenly be too short, and your guide posts may no longer reach high enough to properly support the blade at the new maximum height.
Why Guide System Adjustments Matter After Riser Block Installation
Here is where many woodworkers run into trouble. After installing a riser block, they mount a longer blade, set the tension, and expect to start resawing 10-inch boards immediately. The first cuts often reveal drift, wandering, and rough surfaces that were not present before the upgrade. The issue is almost always blade support. Your original guide posts were designed to position the guides at heights appropriate for your original resaw capacity. Once you add a riser block, the upper guides may not extend high enough to sit just above your workpiece during tall cuts. This leaves inches of unsupported blade exposed, which flexes and wanders under cutting pressure. Proper upper and lower guide spacing must be restored using extended guide posts or dedicated riser-compatible guide assemblies that maintain consistent blade support across the full, now taller, cutting height.
Bandsaw Riser Block Specifications by Common Saw Sizes
| Original Saw Size | Typical Riser Height | New Resaw Capacity | Required Blade Length | Guide Post Extension Needed |
| 9-inch benchtop | 3.5 to 4 inches | 6 to 7 inches | 72 to 80 inches | Usually included in kit |
| 14-inch floor model | 6 inches | 12 to 13 inches | 105 to 111 inches | Often requires separate purchase |
| 17-inch cabinet saw | 6 inches | 16 inches | 131 to 137 inches | Depends on original guide system |
| 18-inch professional | 6 inches | 18 inches | 143 to 150 inches | Usually requires aftermarket solution |
The Before and After Difference in Resaw Performance
To illustrate the practical impact, consider a standard 14-inch bandsaw with a stock 6-inch resaw capacity. Before installing a riser block, this saw handles most furniture-scale resawing adequately. You can slice 5-inch boards into book-matched pairs or cut 4-inch turning blanks without issue. After adding a 6-inch riser block, that same saw can theoretically resaw a 12-inch cant into multiple boards. However, the quality of those cuts depends entirely on whether the guide system was properly updated. Woodworkers who skip this step report blade deflection of up to 3/16 inch during tall cuts, resulting in boards that vary significantly in thickness from top to bottom. Those who install matching guide extensions report cut consistency within 1/32 inch even at maximum height, which matches or exceeds their pre-riser performance on shorter stock.
Signs Your Guides Need Attention After a Riser Block Upgrade
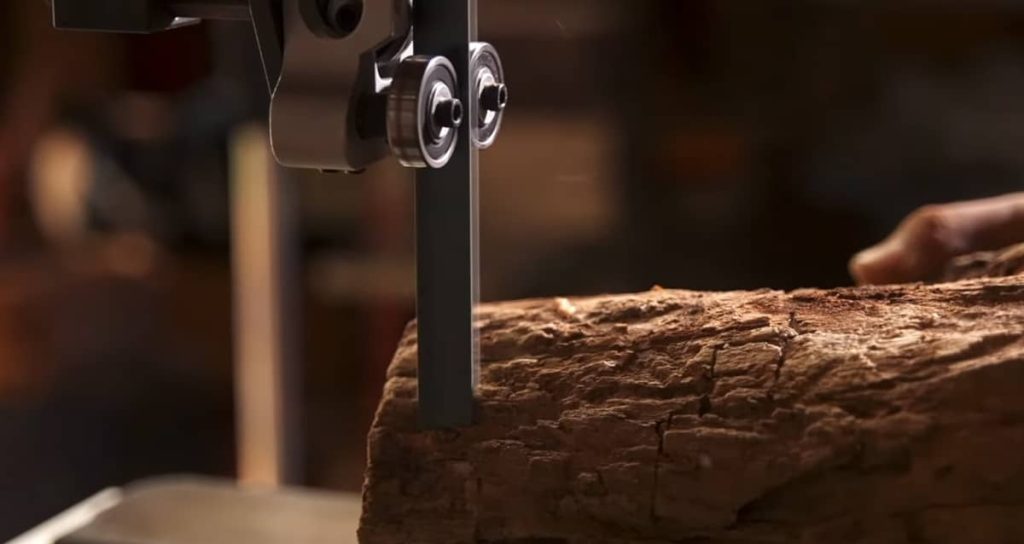
- The blade visibly bows or flexes when cutting stock taller than 8 inches
- Your upper guide post maxes out before reaching the proper position above the workpiece
- Cut surfaces show pronounced curve or washboard texture on tall boards
- The blade drifts progressively more as cut height increases
- You hear the blade tone change as it engages taller material
- Feed rate must be dramatically reduced to prevent the blade from stalling
- Resaw results are acceptable on short stock but poor on tall stock
Selecting the Right Blade for Your New Resaw Capacity
After upgrading your bandsaw with a riser block, blade selection becomes more important than ever. The longer unsupported span between guides means your blade must resist deflection through its own stiffness and proper tensioning. Most experienced resawers recommend moving to a wider blade after a riser upgrade, typically 1/2 inch or 3/4 inch for a 14-inch saw with a riser installed. Wider blades have greater beam strength and resist the lateral forces that cause drift. Tooth configuration matters too. A 3 TPI or 4 TPI blade with a hook or skip tooth pattern clears waste efficiently during thick cuts, reducing the forward pressure that can push a blade off line. Some woodworkers find that switching to a carbide-tipped resaw blade eliminates drift almost entirely, though these blades require proper guide support to justify their higher cost.
ALSO WORTH READING
Thinking About Upgrading Your Bandsaw?
If you own a Craftsman 12″ or 14″ bandsaw, you might be wondering which improvements will make the biggest difference in your shop. We put together a guide covering the best first upgrades for these popular models, focusing on changes that actually improve cut quality and ease of use. Check it out to see where your money and effort will have the most impact.
Common Mistakes When Installing a Bandsaw Riser Block
- Assuming the existing blade will work after the upgrade
- Failing to check if the guide posts reach the new required height
- Not verifying that the table remains square to the blade after installation
- Overlooking the need to recalibrate the blade tension scale
- Skipping the fence realignment after the frame geometry changes
- Using guides that were marginal performers before and expecting them to work at greater heights
- Neglecting to inspect the tires, bearings, and tracking before adding the riser
What to Look for in Riser-Compatible Guide Systems
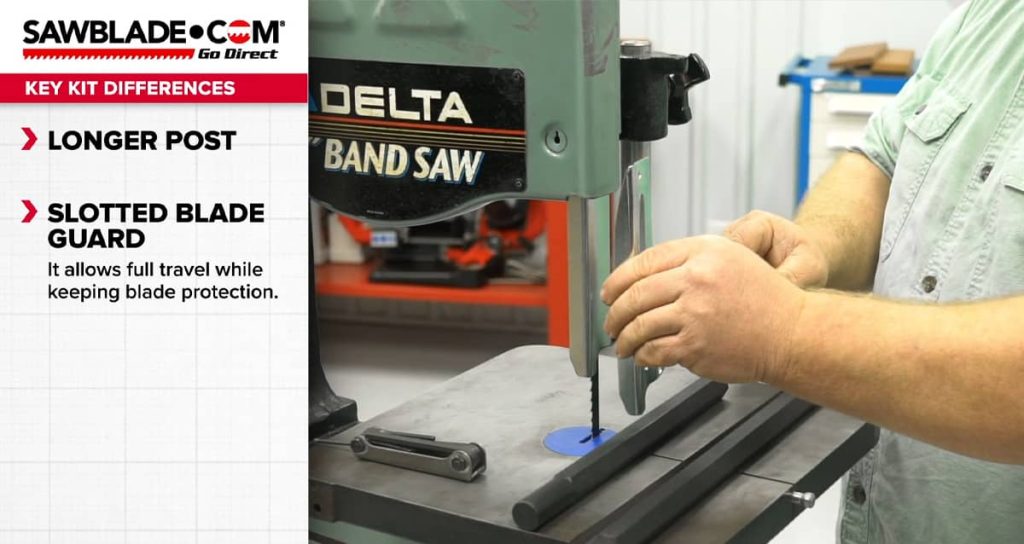
The best guide systems for riser-equipped bandsaws share several characteristics. First, they offer extended post lengths that can position the upper guides properly even at maximum cutting height. Second, they provide solid blade support without excessive friction, typically through ceramic or bearing-style guides rather than basic steel blocks. Third, they adjust easily since you will be moving the upper guides constantly when switching between thin and thick stock. Quality aftermarket guide setups designed for specific bandsaw models often outperform the original equipment precisely because they account for these requirements. When shopping for a riser block kit, ask specifically whether the kit includes guide system components or if those must be purchased separately. Some manufacturers offer complete packages while others provide only the block, bolts, and alignment hardware.
Putting It All Together for Maximum Resaw Performance
A bandsaw riser block represents one of the most cost-effective upgrades for woodworkers who need greater resaw capacity. For a fraction of the cost of a larger saw, you can double your cutting height and open up project possibilities that were previously impossible. The key to success lies in treating the riser block as the starting point rather than the complete solution. Plan for a longer blade, verify that your guide system can accommodate the new height, and consider whether your blade guides need upgrading to match the increased capacity. Woodworkers who approach the upgrade systematically report excellent results, often achieving commercial-quality resaw performance from consumer-grade machines. Those who rush the installation frequently end up frustrated and blame the riser block for problems that actually stem from inadequate blade support. Take the time to set up the complete system correctly, and your bandsaw will reward you with years of reliable thick-stock processing.
Making Your Riser Block Upgrade Worth the Investment
The difference between a successful riser block installation and a disappointing one almost always comes down to preparation and follow-through. Before purchasing a riser block, measure your current resaw capacity and note the condition of your existing guides. After installation, take the time to test cuts at progressively greater heights, watching for signs of drift or deflection that indicate guide limitations. If problems appear, address them before attempting your most valuable stock. Many woodworkers find that the riser block upgrade becomes the perfect opportunity to overhaul their entire blade guidance system, resulting in a machine that performs better across all cutting tasks, not just tall resaws. With the right approach, a simple riser block can transform a capable bandsaw into a genuinely versatile resawing station.