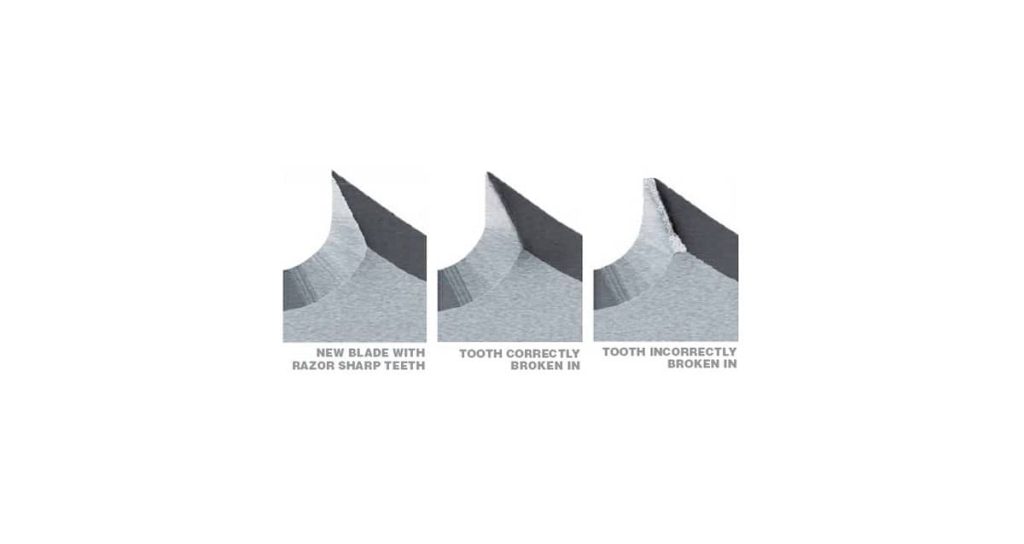
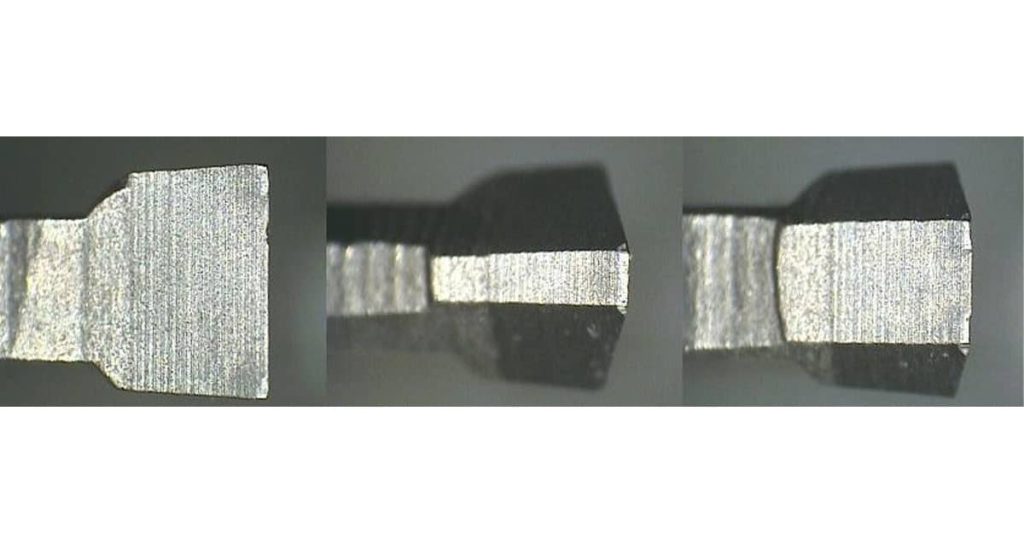
A common problem for anyone using a bandsaw is blades wearing out too soon or breaking unexpectedly. This not only increases expenses but also interrupts workflow and lowers cut accuracy. Thankfully, many of these issues can be avoided by paying attention to one simple detail: the way the blade guides are adjusted.
Why Guide Setup Makes a Difference
-
Reduced blade lifespan
-
Cuts that wander off-line
-
Blades cracking or snapping
-
Heat and friction build-up
-
Extra vibration and noise
Improperly set guides allow the blade to twist or rub against surfaces it should not touch, creating wear that is both unnecessary and preventable.
Different Guide Styles
Most bandsaws are equipped with either block guides, bearing guides, or a combination of both. Each type provides blade support in its own way, but the purpose remains the same: keep the blade stable while avoiding excess pressure and friction.

Check the Basics First
Before adjusting the guides, always verify that blade tension and tracking are correct. A guide adjustment cannot make up for poor tension or a blade running off-center. The blade should sit evenly on the wheels, and the tension should match the manufacturer’s instructions.
Side Guide Positioning
| Guide Type | How to Position | Clearance Rule |
|---|---|---|
| Block | Place just behind blade teeth | About the thickness of a dollar bill |
| Bearing | Set just behind the gullets | Must not touch the blade when running idle |
Both the upper and lower guides need attention, and the lower set under the table is the one many operators forget.
Rear Guide Adjustment
The rear guide keeps the blade from being pushed backward during use. It should rest slightly behind the blade and must not touch it when the saw is running without load. Contact should only happen once the blade is cutting into material.
Running a Quick Test
-
Rotate the wheels by hand to ensure the blade is clear until pressure is applied
-
Power on the saw without material to confirm smooth blade tracking
-
Pay attention to unusual rubbing or grinding sounds
Minor fine-tuning may be required after the first cuts.

Setting the Upper Guide Post
The upper guide post should be positioned just above the workpiece, ideally between 1/8″ and 1/4″. Keeping it close improves control and reduces blade deflection during cutting.
Errors That Cause Blade Problems
-
Guides set too tightly against the blade
-
Sawdust or chips left to collect in the guides
-
Using a blade not suited for the material
-
Incorrect blade tension
-
Feeding the stock too aggressively
Find the Delta 28-203 Manual
Looking for detailed instructions on your Delta bandsaw? Read our article “Delta 28-203 Manual: Where to Download and How to Use It” to get access to the manual and learn how to make the most of it.
Tips for Improved Blade Longevity
Change guides when they show wear, clean them regularly, and choose a blade with the right width and tooth count for the job. These practices will keep blades cutting efficiently and lasting longer.
Taking time to set up bandsaw guides correctly is a quick but effective way to save money, improve cut accuracy, and avoid downtime. By checking blade tension, aligning guides, and maintaining clean components, you can extend blade life and keep your saw running smoothly whether working with wood or metal.