Starting Your Workshop the Right Way
When you first decide to start woodworking, the sheer number of tools available can make your head spin. Every magazine, forum, and YouTube channel seems to have a different opinion on what belongs in a starter toolkit. The truth is, most beginners end up with garages full of equipment they rarely touch while missing the basics that would actually help them complete projects. This guide takes a practical approach to beginner woodworking tools, focusing on what you will genuinely use during your first year of building. Instead of chasing every shiny gadget, the goal here is to help you assemble a functional workshop that grows with your skills without draining your savings account before you finish your first cutting board.
The Foundation Pieces Every New Woodworker Actually Needs
Before purchasing a single power tool, experienced woodworkers consistently recommend establishing your workspace with these foundational items:
- A sturdy workbench or assembly table that can handle clamping, pounding, and holding materials steady
- At least four quality bar clamps in the 24 to 36 inch range
- A reliable combination square for checking 90 degree and 45 degree angles
- A quality tape measure, preferably 25 feet with a standout of at least 7 feet
- A set of sharp chisels in quarter inch, half inch, and three quarter inch widths
- Safety glasses with side shields and hearing protection rated for power tool use
- A quality pencil and marking knife for precision layout work
Why Your Workbench Matters More Than Your First Power Tool
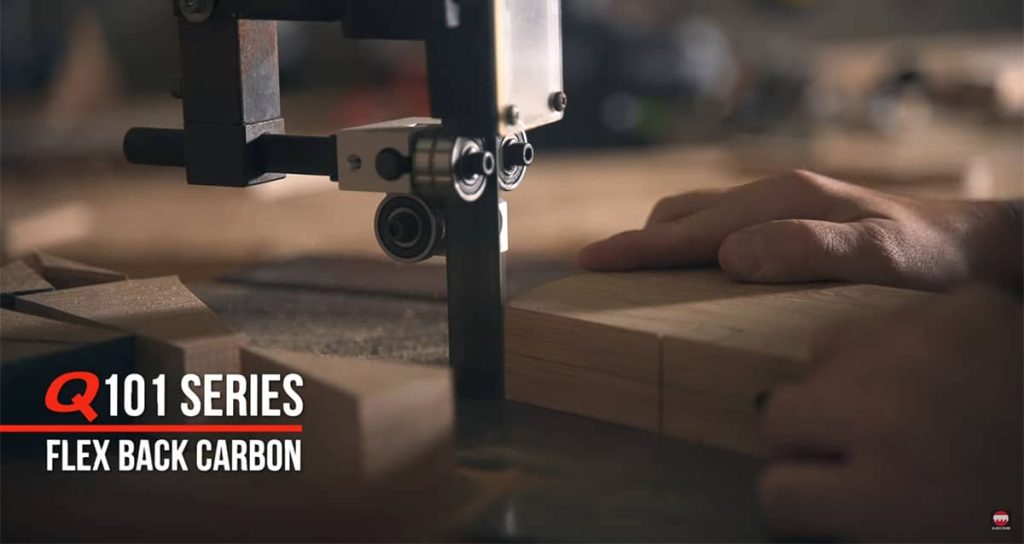
Many beginners rush past the workbench, eager to start cutting wood with powered equipment. This is a mistake that creates frustration for months or even years. Without a solid, flat work surface at a comfortable height, every operation becomes harder than it needs to be. Your workbench does not need to be expensive or fancy. A simple design using construction lumber and a flat top made from MDF or plywood will serve you well initially. The key requirements are stability, a flat working surface, and some method of holding your workpieces securely. Many woodworkers build their first bench from dimensional lumber, spending under one hundred dollars on materials while gaining valuable experience in the process.
Hand Tools That Teach You How Wood Behaves
Power tools remove material quickly, but hand tools teach you how wood actually responds to cutting forces. A block plane, for example, shows you grain direction in a way no machine can replicate. When you push a sharp plane across a board and watch thin shavings curl up, you develop an intuitive sense for how that species wants to be worked. Similarly, using a handsaw for a few cuts helps you understand kerf width, blade tooth geometry, and the importance of letting the tool do the work rather than forcing it. These lessons transfer directly to power tool operation later. Beginners who skip hand tools entirely often struggle to diagnose problems when their power tools produce poor results.
Comparing Entry Level Power Tools for Beginners
| Tool Type | Typical Price Range | Primary Use | Skill Level Required | Space Needed |
| Jigsaw | $50 to $150 | Curved cuts and rough shaping | Low | Minimal |
| Random Orbit Sander | $60 to $120 | Surface smoothing | Low | Minimal |
| Band Saw | $200 to $500 | Curves and resawing | Low to Medium | Moderate |
| Table Saw | $300 to $800 | Straight rip cuts and crosscuts | Medium | Significant |
| Router | $100 to $200 | Edge profiles and joinery | Medium | Minimal |
| Miter Saw | $150 to $400 | Crosscuts and angles | Low to Medium | Moderate |
The Case for Starting with a Band Saw
While many guides push table saws as the first major purchase, a band saw offers surprising versatility for beginners with less intimidation factor. A quality band saw handles curved cuts, straight rips, and even resawing thick lumber into thinner boards. The blade moves in one direction, pulling material down toward the table rather than potentially kicking it back at you. This makes the learning curve gentler while still allowing you to complete real projects. When you choose the right blade for your band saw, you can switch between rough cuts and fine work simply by swapping blades. For those working in smaller spaces, band saws also tend to have a more compact footprint than cabinet style table saws.
Choosing Blades That Match Your Skill Level
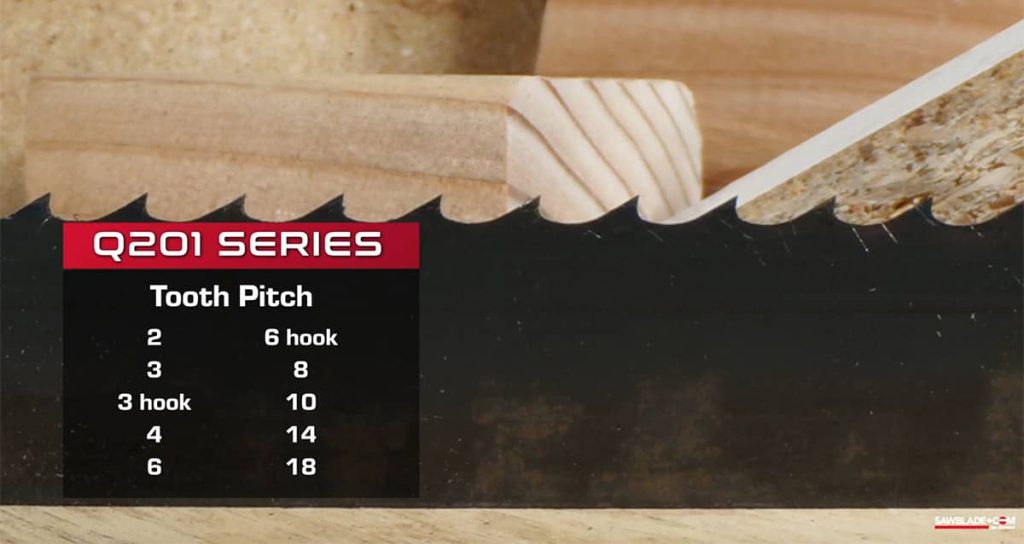
For band saw users just starting out, blade selection significantly impacts your results:
- Flex back carbon blades with standard tooth patterns work well for general cutting and forgiving of minor technique errors
- Hard back carbon blades offer economical performance for home shops without requiring professional level investment
- Wider blades between three eighths and one half inch provide stability for straight cuts
- Narrower blades around one quarter inch allow tighter radius curves
- Higher tooth counts produce smoother cuts but remove material more slowly
- Variable tooth spacing reduces vibration and noise during cutting
Understanding Blade Quality Before Your First Purchase
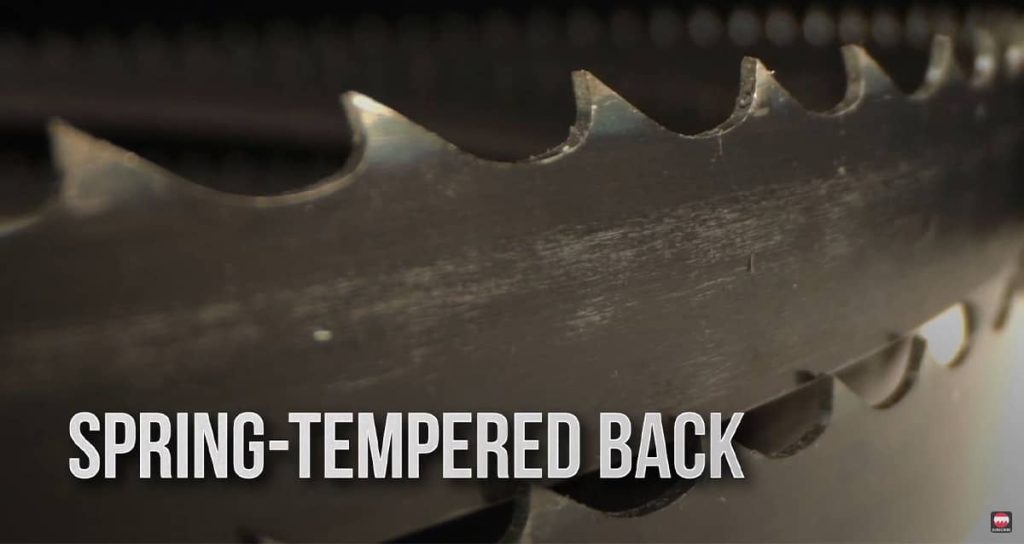
Not all blades perform equally, even when specifications look similar on paper. Quality saw blade selection affects cut smoothness, blade longevity, and how forgiving the tool is while you develop your technique. Entry level blades with spring tempered backs and properly hardened teeth deliver reliable accuracy without premium pricing. As your skills improve, upgrading to higher performance blades designed for both contour work and straight line precision becomes worthwhile. The blade is where the actual cutting happens, so this is not the place to seek the absolute cheapest option. A mediocre saw with an excellent blade often outperforms an expensive saw fitted with a bargain blade.
ALSO WORTH READING
Explore the Grizzly 14″ Bandsaw in Detail
If you are considering a reliable bandsaw for your workshop, the Grizzly 14″ model is worth a closer look. We put together a full review covering blade options, practical upgrades, and maintenance tips to help you get the most out of this machine. Whether you are new to bandsaws or looking to improve your current setup, you will find useful information to guide your decision.
Safety Equipment That Actually Protects You
Purchasing safety equipment is not optional, and quality matters here:
- Safety glasses should meet ANSI Z87.1 standards and fit comfortably enough that you actually wear them
- Hearing protection rated NRR 25 or higher protects against cumulative damage from power tools
- A dust mask or respirator with at least N95 rating keeps fine particles out of your lungs
- Push sticks and push blocks keep fingers away from spinning blades
- A first aid kit stocked with bandages, antiseptic, and butterfly closures for minor cuts
- Proper lighting so you can clearly see cut lines and blade positions
The Mistake of Buying Safety Gadgets Instead of Learning Technique
New woodworkers sometimes believe that purchasing enough safety accessories makes dangerous tools safe. This thinking is backwards and potentially harmful. No amount of guards, featherboards, or blade covers substitutes for understanding how to properly position your body, feed material at appropriate speeds, and recognize when a cut is going wrong. Smaller or less expensive saws are not inherently safer than larger ones. Any spinning blade or moving cutter can cause serious injury regardless of the tool’s size or price point. Professional grade blades and accessories matter, but they work best when paired with proper technique learned from reliable sources rather than random online videos of varying quality.
Building Your Tool Collection Gradually
A phased approach to tool acquisition serves beginners better than buying everything at once:
- Months one through three: workbench, basic hand tools, clamps, and measuring equipment
- Months four through six: first power tool such as a jigsaw or band saw plus quality blades
- Months seven through nine: sanding equipment and dust collection basics
- Months ten through twelve: second major power tool based on the projects you actually want to build
- Year two: router, specialized jigs, and upgraded versions of tools you use most frequently
What the Forums and Experienced Woodworkers Keep Saying
Spending time reading woodworking forums reveals consistent advice from people who have been building for decades. They repeatedly emphasize that shop organization and fundamental workspace setup should come before specialty tool purchases. Cabinets, lumber storage, and custom jigs tailored to your projects often matter more than the next power tool on your wish list. These experienced voices also stress the value of practicing on scrap material and learning from your inevitable mistakes rather than expecting tools to compensate for undeveloped skills. The best beginner woodworking tools are the ones you learn to use thoroughly, not the ones that sit unused because you moved on to the next purchase too quickly.
Setting Yourself Up for Long Term Success
Building a workshop takes time, and the best approach involves patience combined with thoughtful purchasing. Start with a solid workbench and quality hand tools that teach you how wood behaves. Add power tools gradually based on the projects you genuinely want to complete rather than what seems popular online. Invest in proper safety equipment and commit to learning correct technique from reputable sources. Choose quality blades and accessories that match your current skill level while allowing room to grow. Within a year of following this approach, you will have a functional shop filled with tools you actually use rather than expensive equipment gathering dust. The satisfaction of completing projects with tools you understand deeply beats the temporary excitement of unboxing gear you are not yet ready to master.