How a Bearing Guide Kit Improves Bandsaw Operation
A bearing guide kit replaces original guide blocks or worn factory bearings with a more controlled bearing-supported system. Many older bandsaws from manufacturers such as Delta, Jet, and Craftsman use stock guide assemblies that allow excessive blade movement and require frequent correction. A bearing-style guide kit improves blade support, limits side deflection, and helps maintain uniform cutting results across different materials.
Tools and Materials Needed
Having the correct tools ready before starting helps ensure accurate alignment and a smooth installation process:
-
Bandsaw guide conversion kit compatible with your saw
-
Hex keys or Allen wrenches
-
Small adjustable wrench
-
Rubbing alcohol or cleaning solvent
-
Lint-free shop cloths
-
Safety glasses
-
New bandsaw blade (optional but recommended)
Safety Steps Before Beginning
Before working on the guide system, the bandsaw must be completely inactive. Disconnect the saw from its power source and fully release blade tension. The blade should rest freely without pressure before removing or installing any guide components.
Removing Original Guide Assemblies
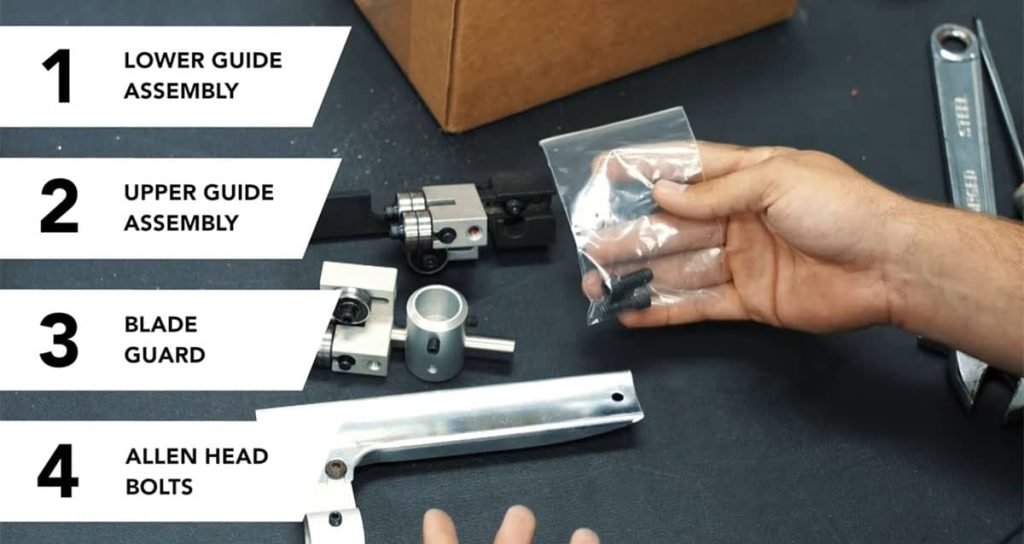
Factory guide assemblies are usually secured with a limited number of fasteners. Begin by lowering the guide post and removing the upper guide assembly from its mounting point. The lower guide assembly is accessed through the lower cabinet and carefully removed without forcing the blade. Once detached, all original guide components can be set aside.
Preparing the Guide Mounting Areas
Clean mounting surfaces allow the new guide system to sit flat and adjust smoothly. Dust, residue, or buildup on the guide post and lower mounting area can interfere with alignment. Cleaning these areas supports accurate installation and long-term stability of the guide kit.
Overview of Installation and Adjustment Steps
| Installation Phase | Purpose |
|---|---|
| Upper mounting bracket | Supports the upper bearing guides |
| Upper bearing assembly | Controls blade movement above the table |
| Lower mounting block | Positions the lower guide system |
| Lower bearing assembly | Stabilizes the blade during cutting |
| Blade tracking and tension | Sets blade position before final adjustment |
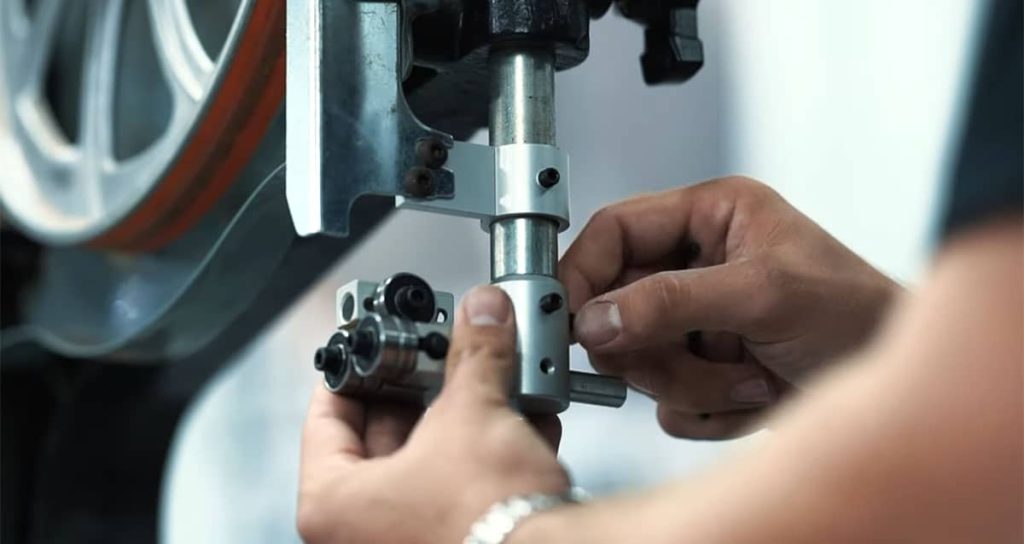
Installing the Upper Bearing Guide Assembly
The upper mounting bracket is aligned with the existing holes on the guide post and secured so it sits flat against the surface. Once installed, the bearing guide assembly is attached to the bracket. Side bearings are positioned just behind the blade gullets, while the thrust bearing is adjusted to contact the blade only when forward cutting pressure is applied.
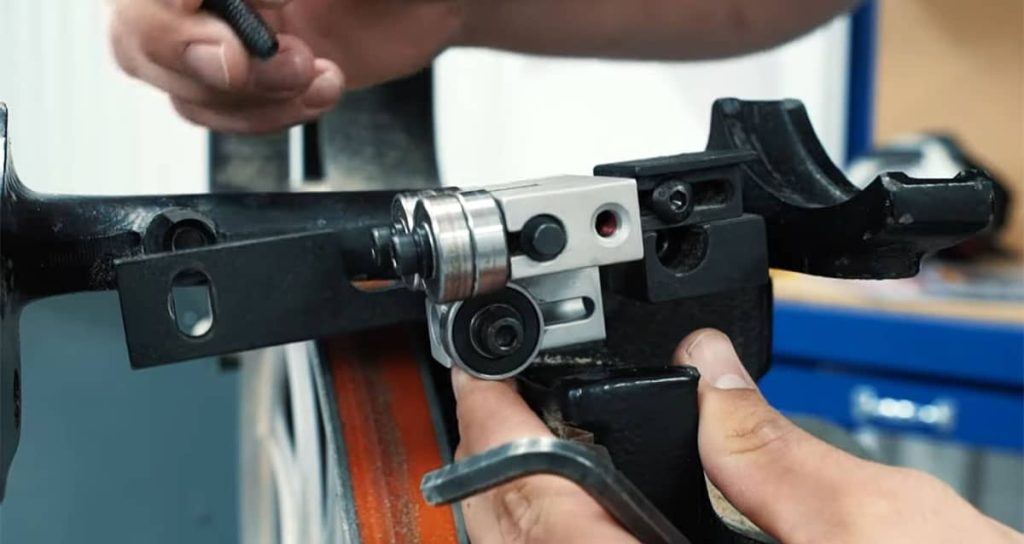
Installing the Lower Bearing Guide Assembly
Lower guide installation follows the same general steps but requires careful positioning due to reduced working space. The mounting block is secured loosely to allow adjustment. Bearings are positioned close to the blade without contact, and manual wheel rotation is used to confirm proper clearance before tightening all fasteners.
Adjusting Blade Tension and Tracking
Correct blade tension and wheel tracking must be set before making final guide adjustments. A blade that is off-center on the wheel crown or improperly tensioned will not respond accurately to guide positioning. Once tracking is stable, guide adjustment becomes more precise.
Final Bearing Guide Settings
With blade tension and tracking confirmed, finalize the guide settings:
-
Side bearings set a paper-thickness away from the blade
-
Bearings remain still until cutting begins
-
Thrust bearings engage only under forward cutting load
These settings support controlled blade movement while reducing friction.
Initial Inspection and Power Test
Rotate the wheels by hand to ensure smooth movement with no rubbing or resistance. After closing the cabinet doors, briefly power on the saw. Stable rotation, quiet operation, and centered blade tracking indicate proper installation.
Keep Your Manual Bandsaw Running Efficiently
Consistent cutting performance from a manual bandsaw depends on regular inspection, cleaning, and adjustment. Our article, “How to Maintain a Manual Bandsaw for Peak Efficiency,” explains routine maintenance tasks that help support accurate cuts, stable blade tracking, and reduced component wear. It is a useful reference for maintaining reliable operation and steady performance over time.
Benefits of Installing a Bearing Guide Kit
Switching to a bearing-based guide system provides several practical advantages:
-
Reduced blade friction and heat generation
-
Improved blade support during straight and resaw cuts
-
More predictable and repeatable adjustments
-
Lower operating noise
-
Longer blade service intervals
Installing a bearing guide kit improves blade stability, cutting consistency, and overall bandsaw control. With careful preparation, clean mounting surfaces, and accurate final adjustments, a guide conversion kit delivers noticeable performance improvements while helping preserve blade condition over time.